Monday, November 1, 2010

Spooky Spiderwebs

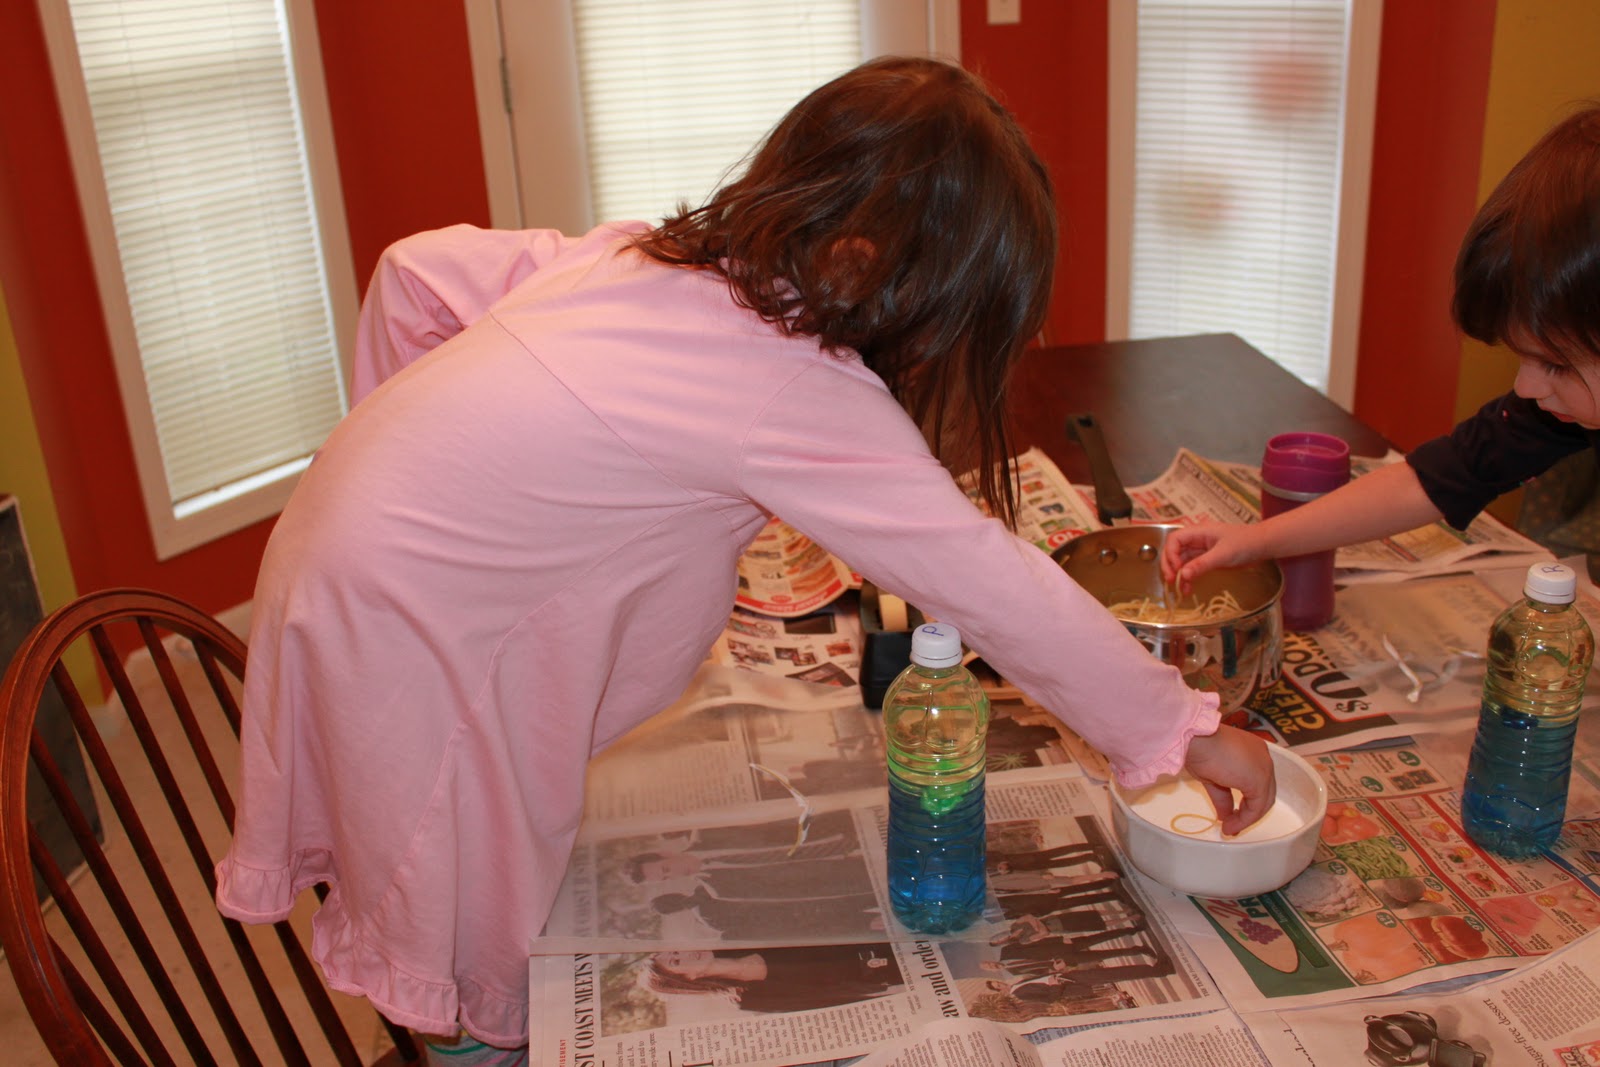
On Thursday we made spooky spiderwebs. Here are the supplies:


Cold cooked spaghetti
Wax paper 
Glue


Dip pieces of spaghetti in the glue and then place on the wax paper.


Let the glue dry.


Carefully peel the wax paper off the spaghetti.


We added some plastic spider rings to the webs after we taped them on the mural. Princess Little decided that we needed to add some of the plastic bat rings in the sky and Princess Big wanted to add the plastic skull rings to the windows of the house. I think it looks fantastic!

Sunday, October 31, 2010

Paper Chain Skeleton

We made some wonderful paper chain skeletons for our Halloween mural!


First, we made a basic paper chain with white construction paper.


Then, Queen Mommy traced and cut out the hands and feet and freehanded a skull.


Next, assemble the arms, legs, neck and back. Then, we glued the hands, feet, and skull on.


 Here we are ;)

Tracing Pumpkins

Every house needs jack-o'-lanterns! Being able to trace around something, like a cookie cutter (that's what we used), has to be an important skill right? That's what I thought so we made some pumpkins for our "haunted" house.


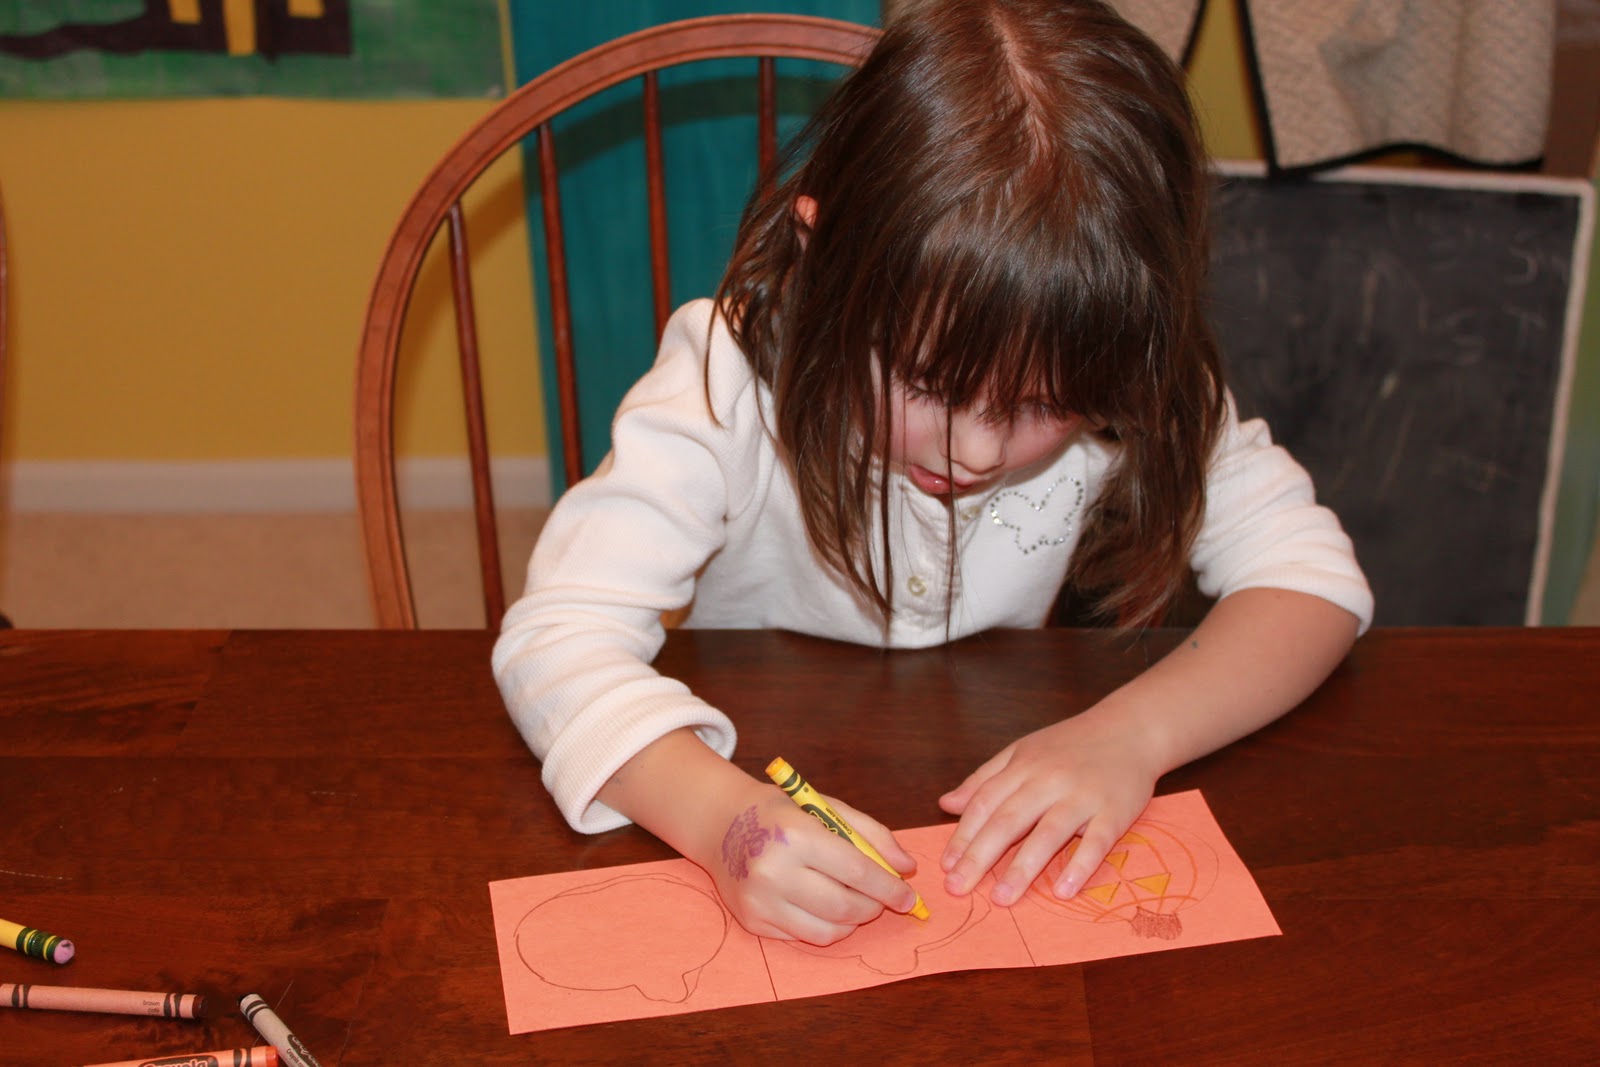
Here are Princess Big and Princess Little tracing the pumpkin cookie cutter.


Here they are coloring in the jack o' lantern

Then,  Queen Mommy cut them out and put some tape on the back. The girls decided where they would be placed. As it turns out, both girls wanted to only put up one so they could play with the other one.


Here are our pumpkins. I had originally planned to have more pumpkins but sometimes you just let it go :) If you look closely just to the left of the top of the house you'll also see our glue ghosts.

Glue Ghosts

Here is our glue ghost project! It's really pretty easy but it takes a few days to dry.
First I drew a ghost shape on a piece of wax paper with a sharpie.


Then I gave the girls a bottle of glue and let them fill in the ghost.


 A note: don't let them just pour the glue in a big puddle in the middle. Princess Big, it turns out, had too much glue and it ran. So we had to try again.


Here they are all dried.

I have the updated mural on the next post :)


Monday, October 25, 2010

Alphabet Lacing Cards

The son of one of my friends is turning two and for his present I decided to make him some alphabet lacing cards. They are a great way to work on fine motor skills and I figured the alphabet shapes could come in handy too. It has taken me a little over a week to finish them but now they are done!


I got this art board at Hobby Lobby in sheets of 15" x 20". It is slightly thinner than the chipboard you can get in the scrap booking section. Since I don't have one of those fancy cutting machines I felt this might be easier to cut with an X-acto knife. Yet sturdier than laminated paper.


First I cut the board down into 4" x 5" rectangles. 


Then I freehanded the letters using as much of the rectangle as possible and cut them out.


Next, I sanded the edges first with a heavy grit sandpaper to get the corners rounded, as well as, the round part of different letters, like the B. Then I used a fine grit sandpaper to make sure the edges were smooth.


Next, I used a mini punch that I got in the leather working section of Michael's to punch holes in the letters over a piece of scrap wood from the garage. Then, another round with the fine grit sandpaper to smooth the hole edges. (In hindsight I think I should have saved this step for last. Had I used a larger piece of wood I would not have had to sand any of the holes. The rough edges only form when you try to punch a new hole in the divot of a previous hole and the next steps drip thorough the holes.)


Next, I painted the letters. I painted the backs white and let them dry overnight. Then, I painted the fronts with the colors of the rainbow and let them dry overnight. (I only painted one side with color so that my friend's son would know which is the correct direction of the letters.) The final step was to cover the backs with a coat of Mod-Podge and let dry overnight and then repeat with the fronts. As you can see on the B the Mod-Podge, more than the paint, seeped through the holes so some of them have "spots".


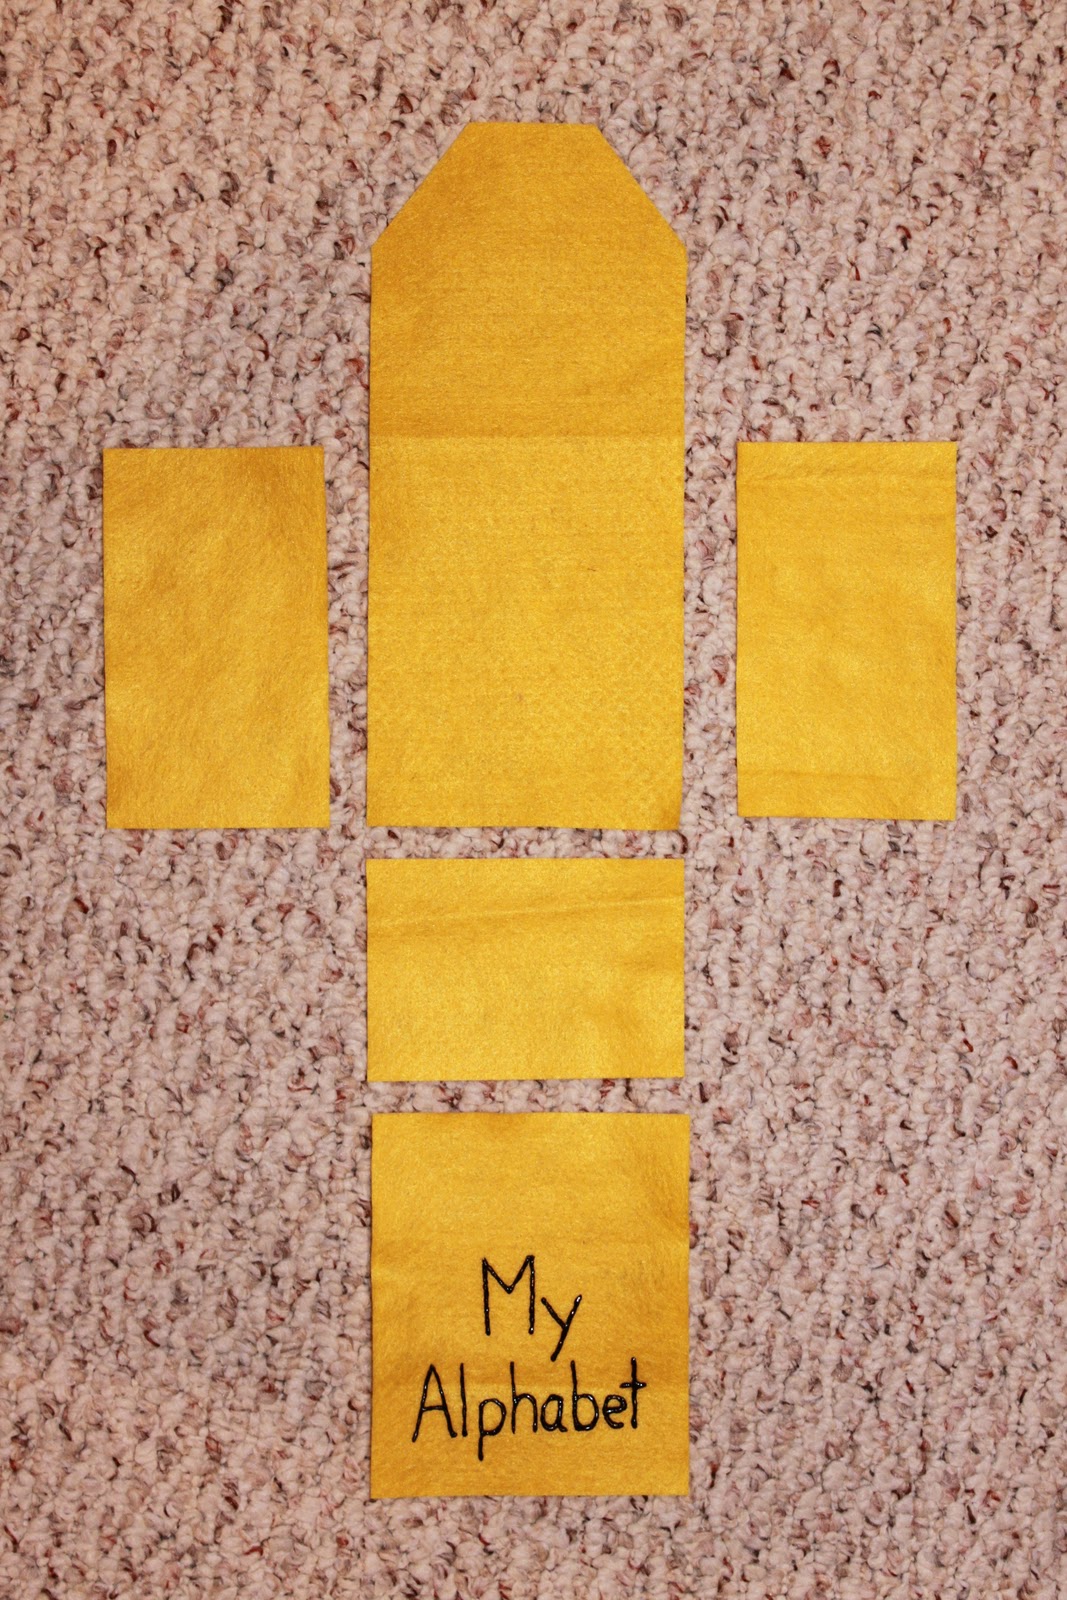
I decided he needed to have something to carry all those letters around in. So I cut these pieces to make a carrying case out of felt and used 3D fabric paint to print "My Alphabet" on the front piece and let it dry before sewing.


After sewing it together I added some Velcro to keep the flap closed. Don't want to lose any of those letters!


At the last minute I decided to add a handle. I know it looks a little like a purse but I had to make the strap long enough to make it easy to get the letters in and out when the flap is open.


Last but not least the strings. I got some heat fusible nylon craft cord and cut it into the correct length. I tried several different methods for sealing the ends but in the end decided to fuse them. There might be an easier way but I used a lighter and just brushed the ends with the flame (I would suggest a push button lighter instead of the wheel one, it got very hot!)

Friday, October 22, 2010

Hand Print Ghost

Today we made hand print ghosts for our mural.


These are our supplies:
  Black construction paper
  White acrylic craft paint
  Foam paint brush
  Black sharpie marker
  Googley eyes


First we painted the hand with the white paint.
Here is Princess Big showing off her hand.


Here is Princess Little showing off hers.


Then we pressed them on the black construction paper and let them dry.


Last we glued on the eyes and drew the mouths.


Here is our finished mural for the week. I have one more ghost project to post but it takes time to dry so we are going to use it on next weeks mural.

T-Shirt Dress

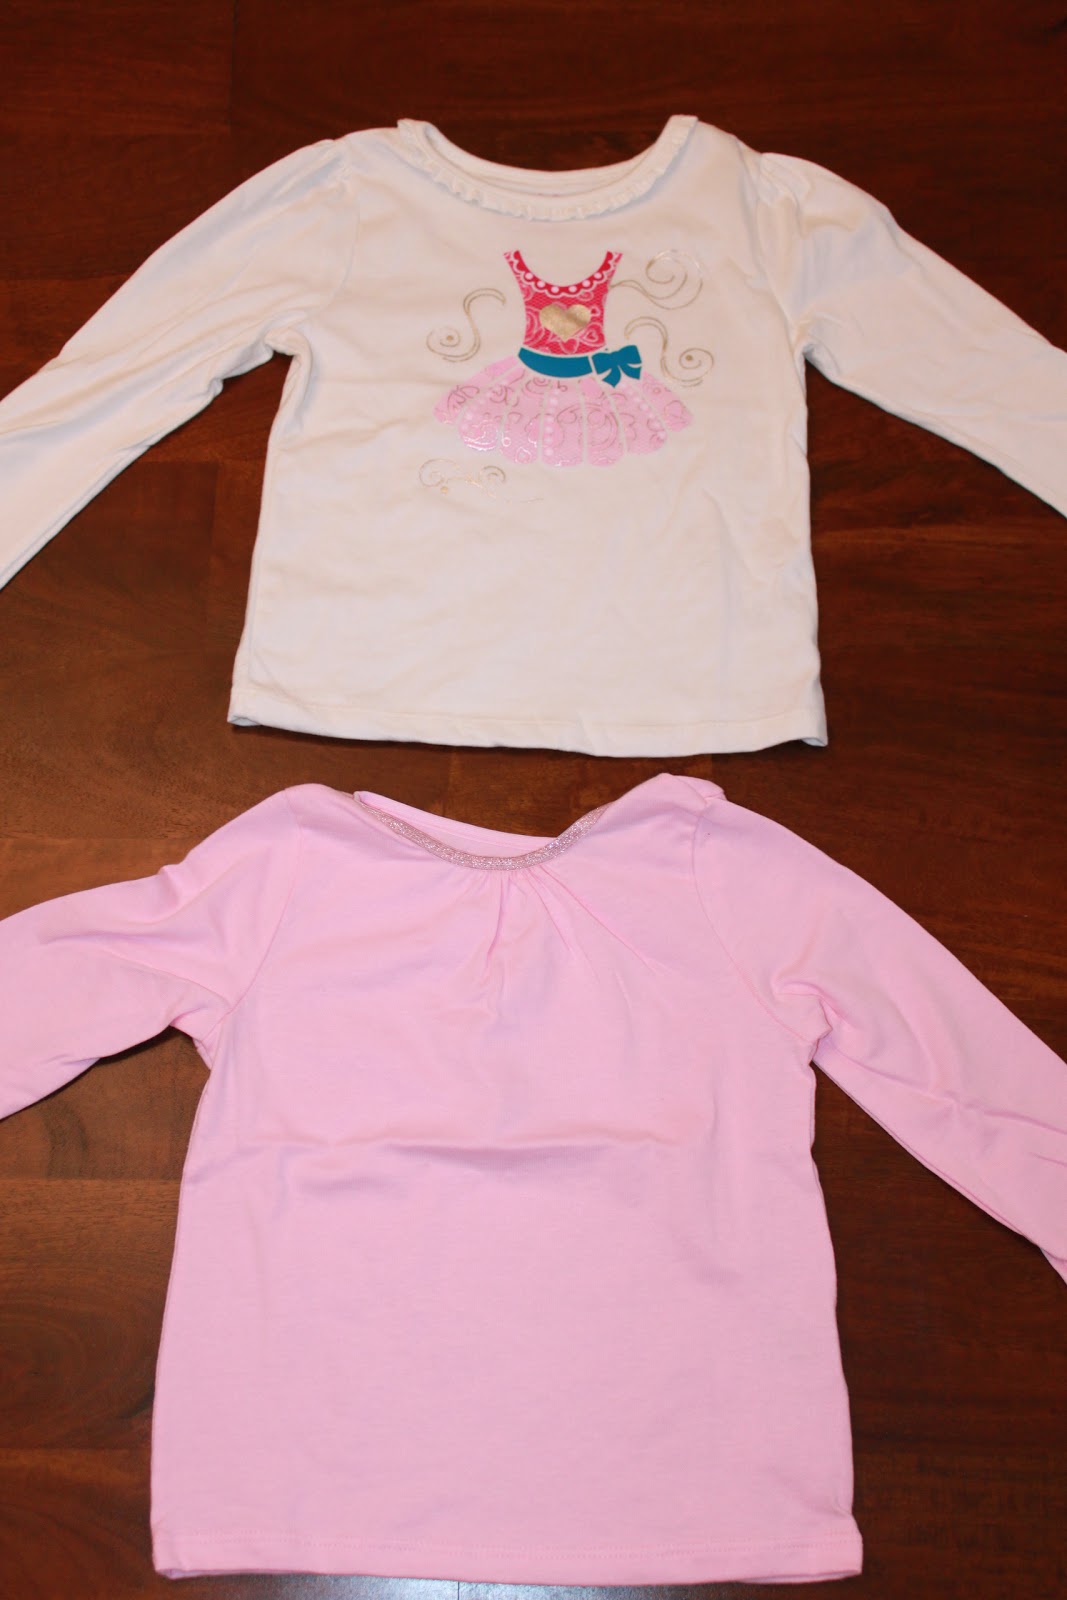
Here is a project I first did in the late 80's with my step-mom. Originally we used plain t-shirts and hot glued big plastic buttons all over the front... oh the 80's :) I can only find plain short sleeve t-shirts in my girls sizes that they can decorate. So, I plan on making more with the girls in the spring when they will be able to wear short sleeved dresses. For now I took them shopping and let them pick out a shirt they liked (turns out they liked the same one so I'm only showing one). This project only took about an hour to do both dresses.


I'm sure you're looking at this thinking that is a plain pink t-shirt! The neck has some pleating on it though and I didn't know how easy it would be for my princesses to work around. They are only 3 and 4 and I don't want any frustration with a project that is supposed to be fun.


First thing I did was cut the shirt into two pieces right under the arms.


Next, I pinned the two shirts together. The pink pinned under the hem of the white.


 Then I took it to the sewing machine (sorry I don't have a picture of this but I cant shoot and sew at the same time). I sewed the pieces together along the hem stitch of the white t-shirt.


Here is the completed dress!