When it gets like this Queen Mommy begins to feel overwhelmed and she starts to go a little crazy! I was at a loss as to how to fix it since my crafting/home budget is next to $0.00 for a few months since we went to Texas for Christmas. The number one place to start, in my opinion, was the giant box of dress up items. I wanted to create a "closet" for all the dresses and shelves for all the shoes, hats, purses and jewelry. Here's what I came up with.
The first thing I did was go through my huge cardboard box collection to look for a box large enough to hang up a dress in. I, however, couldn't find one the right size (sigh). I ended up spending a little over $8 on a shorty wardrobe box from our local U-Haul store. I taped up the bottom and then cut out the front panel leaving a one inch border.
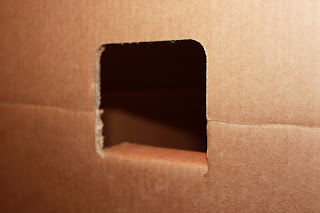
Next, I had to lower the precut hole the hanging bar goes in. If you've never used one of these, the bar sits high so that when you tape the top of the box, after filling it, the hangers won't come off. All I did was take my box cutter and extend the hole down about 2 inches.
Then, I placed the hanging bar in. Now I had enough room to put the clothes in from the front but there was a large hole on each side.
I fixed that hole by taping a little piece of scrap cardboard over it. I think in the long run it will help stabilize the bar as well.
The last thing I did was make it pretty. I used a green patterned contact paper (about $6), starting at the bottom wrapped it around the sides and top. The roll wasn't wide enough to cover the whole box so I had to cut a long strip in the remaining width. With this particular paper I did my best to match up the pattern. Next time I do something like this though I'll pick a paper that is easier, like polka dots or uniform flowers!
Next up, the shelves!


No comments:
Post a Comment