Monday, January 17, 2011

Covered Boxes for Dress-Up Jewelry

And now for our last installment of Operation Toy Clean-Up!


What's the first thing I did? You guessed it, I raided the box collection! Perhaps you're getting an idea just how big that collection is. If not, I'll just tell you I've barely scratched the surface ;) For this project I chose the smallest boxes I had. They mostly came from purchases from Amazon.com.


Next, I cut the top flaps off at the score mark. Then, I taped the bottom closed. To keep pieces of jewelry from finding their way under the inside flaps I glued them down.

While the glue was drying I let the Princesses choose the paper they liked from my scrapbook paper supply. Once all the paper was chosen I picked a paint color that could be found in all the different papers.


In this case the chosen paint is blue. As you can see I painted the entire inside and let it dry.


Next, I cut the paper. For the bottom piece I cut it about 1 to 1.5 inches bigger on all sides. For the two long sides I cut it 1 to 1.5 inches bigger on three sides (I left the bottom edge flush with the bottom of the box). For the short sides I cut it 1 to 1.5 inches bigger on the top side (I left the bottom edge flush with the bottom of the box and the side edges about .25 inch shorter).


I started with the bottom of the box by spreading a medium layer of Mod-Podge all over it. Then I laid the paper over it and smoothed it down to get the wrinkles out. 


Next, I cut the corner and glued the overhang up the side of the box.

After doing this to both matching sides I did the other sides. Once those were done I glued the small flaps to the first two sides to close the corners. Then, using a medium layer, I Mod-Podged the entire bottom and up the sides over the polka-dot paper and let it dry, twice.


After the bottom was dry I started with the long sides. I glued the paper down with the bottom flush with the bottom of the box and the sides overhanging by the same amount (or mostly so, I eye-balled it). Then I glued the overhang down on the short side of the box. 


Then, I glued the top overhang down on the inside of the box starting with the small side piece.


Next, I did the short sides of the box. I glued the paper down with the bottom flush with the bottom of the box. 


Then, I glued the overhang down the inside of the box. 


The last step was to Mod-Podge the entire inside and outside sides twice just like the bottom and let it dry.


If you look in the top left compartment and the top middle compartment you'll see four of the six boxes I made. Each one is filled with something different: necklaces, bracelets,tiaras and masks. The other two boxes I made were larger to store some musical instruments and some felt toys. Due to the larger size I used old wrapping paper but the process was the same. 

Once I got this massive project done I was ready to go through all of the toys with the Princesses and decide what we should give to charity. Since we hadn't done this, ever, I ended up with two large plastic totes full of toys! I've decided five years is too long to wait! 


I still have a few organizational projects in the back of my mind that run along the free or very cheap line but for now the results are fantastic! You can see the floor :)

Dress-Up Clothes Shelves

Dress-up clothes shelves, as promised.


For this installment of operation toy clean up I, again, raided my box collection. If you have babies or toddlers still in diapers or pull-ups I highly recommend saving the boxes! I have used these for several projects, as well as, for moving. Anyhoo... I came up with 7 pull-up boxes of the same size. Then, I cut off the bottom flaps (these don't meet all the way in the middle).


Next, I used white acrylic craft paint to cover the writing on the sides of the boxes.


Once the paint was dry I connected the boxes by using a length of contact paper that I folded over the edges. I did this for all six boxes on both the inner sides and the inner top/bottom. I left the outer sides for the last step.


Next, I covered the sides. I laid the contact paper out and took the backing off. Then, I put the connected boxes on the paper and rolled it all the way around. I left a little overlap on the front and back. For the back, I just folded the paper up like wrapping a gift. For the front I cut a slit and folded the paper over the edges.


Here they are. 


With the 7th box I cut it in half, wrapped it top and bottom in contact paper and slid it in one of the compartments to create additional shelves for the shoes.

Up next, covered boxes for dress-up jewelry.

Dress-Up Clothes Closet

I don't know about you but sometimes it looks like the toy monster threw up all over my house!


When it gets like this Queen Mommy begins to feel overwhelmed and she starts to go a little crazy! I was at a loss as to how to fix it since my crafting/home budget is next to $0.00 for a few months since we went to Texas for Christmas. The number one place to start, in my opinion, was the giant box of dress up items. I wanted to create a "closet" for all the dresses and shelves for all the shoes, hats, purses and jewelry. Here's what I came up with.


The first thing I did was go through my huge cardboard box collection to look for a box large enough to hang up a dress in. I, however, couldn't find one the right size (sigh). I ended up spending a little over $8 on a shorty wardrobe box from our local U-Haul store. I taped up the bottom and then cut out the front panel leaving a one inch border. 


Next, I had to lower the precut hole the hanging bar goes in. If you've never used one of these, the bar sits high so that when you tape the top of the box, after filling it, the hangers won't come off. All I did was take my box cutter and extend the hole down about 2 inches.


Then, I placed the hanging bar in. Now I had enough room to put the clothes in from the front but there was a large hole on each side.


I fixed that hole by taping a little piece of scrap cardboard over it. I think in the long run it will help stabilize the bar as well.


The last thing I did was make it pretty. I used a green patterned contact paper (about $6), starting at the bottom wrapped it around the sides and top. The roll wasn't wide enough to cover the whole box so I had to cut a long strip in the remaining width. With this particular paper I did my best to match up the pattern. Next time I do something like this though I'll pick a paper that is easier, like polka dots or uniform flowers!

Next up, the shelves!


N is for Nose

This week we focused on the letter N and the number 14. Our craft was making animal noses. Here is how we did it.


Our Supplies:
Felt
Toilet Paper Roll
Hole Punch
Scissors
Craft Glue
Elastic


First, Queen Mommy cut the toilet paper tube in half.


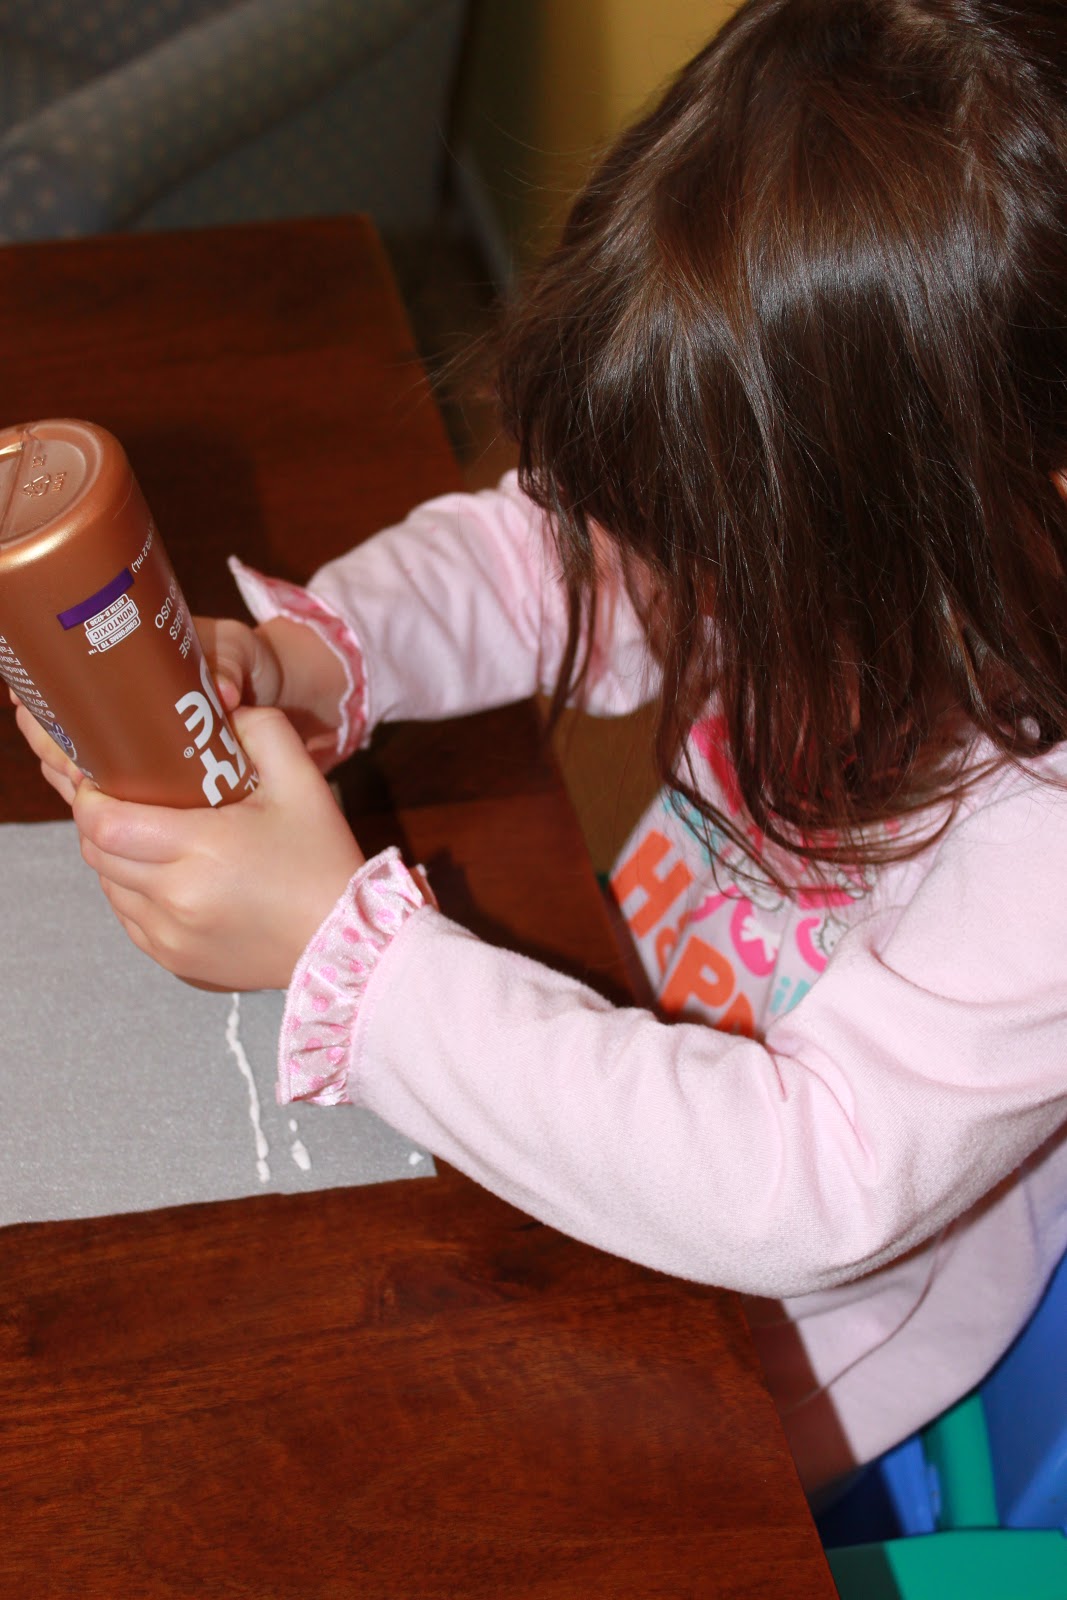
Next, the princesses spread glue on the end of the felt (Queen Mommy put a line of glue, equal to the length of the toilet paper tube, down first so they would know where to stop).


Then, the princesses put a line of glue down the length of the felt and closed it.


Now the hard part, waiting for the glue to dry!


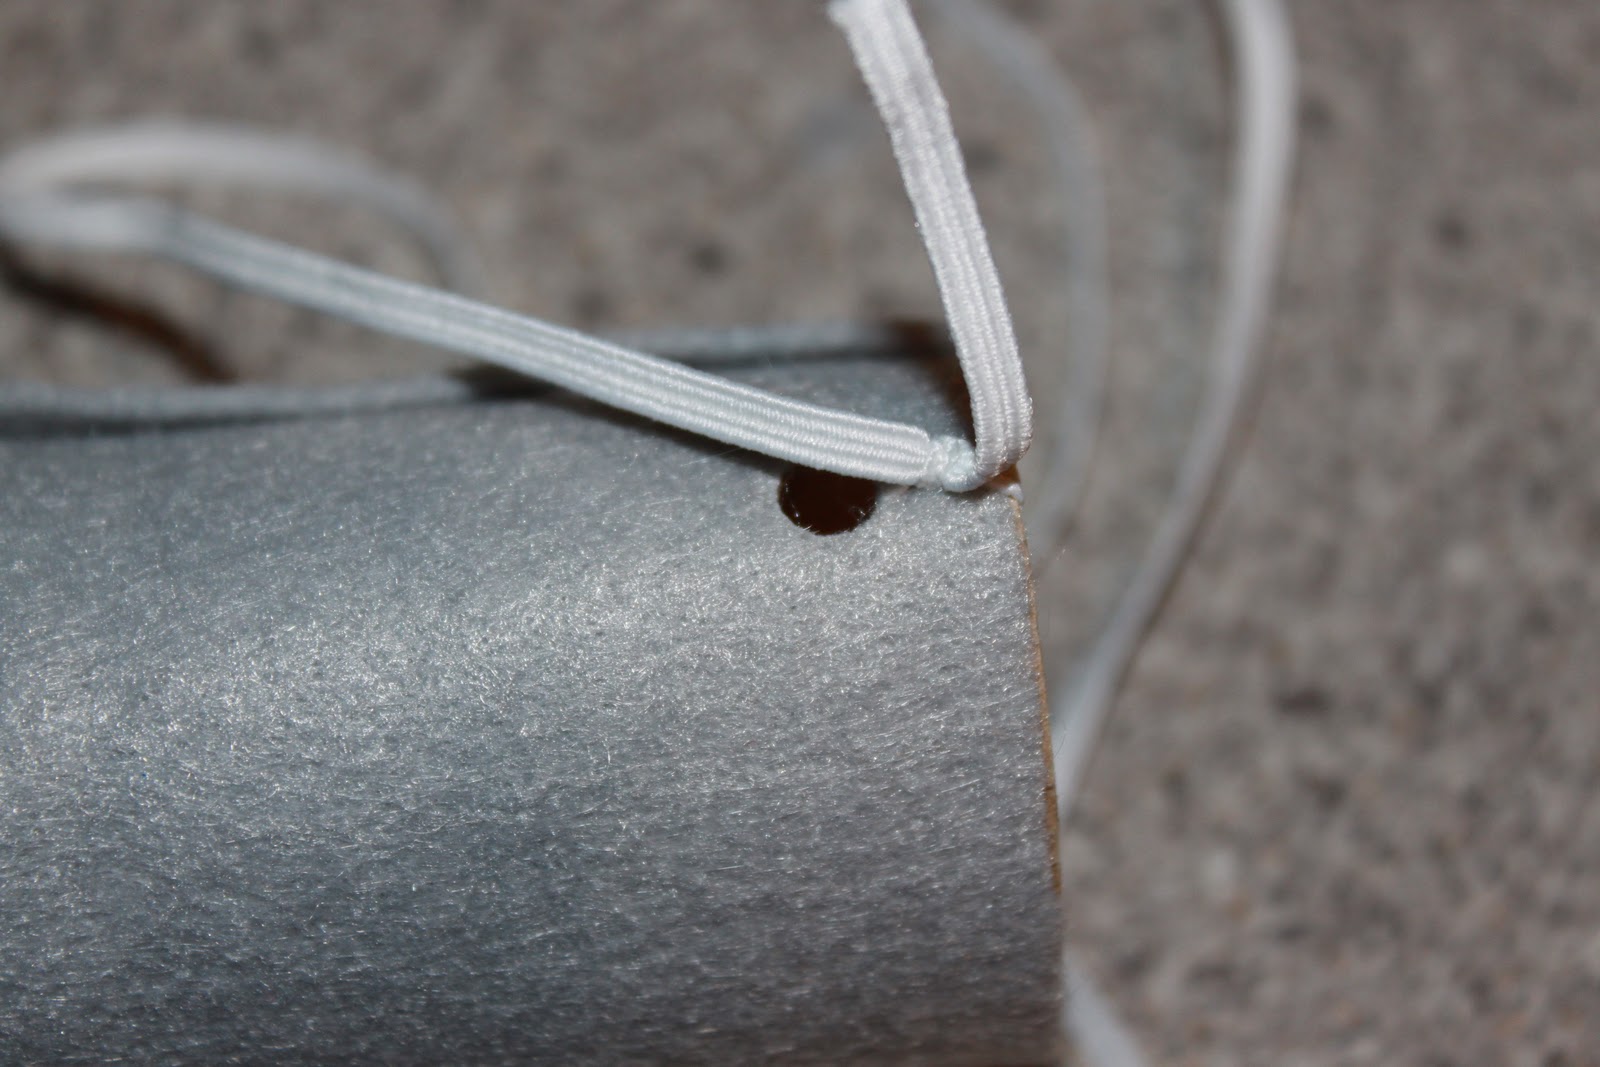
Once the glue was dry Queen Mommy used the hole punch to make two holes on either side of the felt covered toilet paper tube. Then, tie a length of elastic through the holes.


Now I have two little elephants running around the house!

Friday, January 7, 2011

M Is For Moose

This week in "Mommy School" we learned about the Letter M and the number 13. We studied about two states that start with M, Maine and Maryland. Our President was Millard Fillmore, the 13th US President. We also started talking about money. Princess Big got a bag of play money, both bills and coins, for her birthday. I didn't realize how difficult that was going to be to teach but we're very slowly getting the hang of it. Soon we are going to start playing store and I hope that will get us up to speed. I really can't wait :)

On the first day of the week I give the princesses a worksheet printed from here for the letter and a similar worksheet for the number (I've gotten them in several different places).


The rest of the week we continue to practice our handwriting. Here are the princesses writing "M", "m", and "13". In August I picked up maybe my best school supply purchase ever! I found these dry erase boards in the dollar bin at Target. One side is just blank dry erase board and the other is printed with the writing lines you find on elementary writing paper.

Queen Mommy is still a little crafted out from the holidays so we didn't really do much in the way of crafts this week. It all worked out though because the princesses received some makers and a giant coloring book from their aunt and uncle for Christmas. They have been so busy coloring with them I don't think they've noticed.

I did, however, come up with one activity (more so than a craft) for us to do. Since we were learning about moose I posed the question "What do you think it's like to walk around with 6 feet wide 85 pound antlers?" Here's how we explored that question:


I dug into our near limitless supply of cardboard and found these flaps from a box. The tube came from some wrapping paper that I finished off this Christmas. Next, I drew moose antler shapes on the flaps and cut them out with an X-acto knife.


Then, I taped them to the tube using clear packing tape. 


Of course we had to try it out! I tried to attach the "antlers" to the princesses heads with a scarf wrapped around the tube and tied under their chins. I couldn't get it to stay, though, so we just ended up holding them in place. 


I encouraged them to walk around the house holding the antlers. You can't really tell from this picture but this is Princess Big walking into a short hallway. Naturally she caught one side of the antlers on the wall and had to readjust. When she came out into the dining room she said "Wow, it's hard to be a moose!"

Tuesday, January 4, 2011

Princess Big Turns 5

Happy New Year to all of you out there in blog land! We have finally settled down from the holidays around here just in time for Princess Big's 5th birthday. We just had a little family party but we did some things that would be great for a big party.


First I mad a "Happy Birthday" banner for the party. I looked at one in the party store that had Cinderella on it but I decided that I could make something cuter for less than the $6.99 they were charging! All I did was cut 4.5 inch squares out of solid blue cardstock and blue patterned scrapbook paper that I had in my craft stash. I glued them together after giving the scrapbook paper a .25 turn. For the letters I found a script I liked in word and printed them out in blue on my printer. Next, I cut them out and glued them on the scrapbook paper. Using a regular hole punch I punched a hole in the top corners of the solid blue cardstock. Next I strung them on a length of blue ribbon I had in my craft stash.


Princess Big and Princess Little needed a party shirt so I got to work with my sewing machine. I picked up a couple plain T-shirts at Wal-Mart and then dug around my fabric box until I found the scrap fabric from some shirts I made the girls last summer. I cut out Cinderella for Princess Big and Ariel for Princess Little (their favorite princess respectively). Then with the sewing machine I attached them to the T-shirts with a zig-zag stitch around the edges.


After cake and presents I set up the table with a large canvas (the girls and I painted it bright blue the day before so that it would be dry in time), photos and all of the assorted craft supplies that we had in our stash: sequence, small pom-poms, ribbons, glitter glue pens, tissue paper scraps, etc.(Those two cabinets in the back are our craft stash. Queen Mommy keeps just about everything "crafty" she lays her hands on!). Next we got down to gluing, using Mod-Podge of course! You can see King Daddy at work on his first addition and Queen Mommy's first addition there in the front, a photo of Princess Big in the hospital when she was born (tear, where did the time go).


Here are some close-ups of our finished product. King Daddy and the Princesses went a little nuts with the pom-poms :) Since it was a family party I used pictures of the family. However, had it been a party of little girls I would have asked each of them to bring a favorite photo of themselves to add to this. I would also have printed as many as I could of the Princesses playing with their friends. As a goody bag I would have put tiny canvases, a bottle of acrylic paint , paintbrush, and small amounts of tissue paper, sequence, pom-poms, etc.

Happy Birthday Princess Big!
We love you,
King Daddy, Queen Mommy and Princess Little