
The first step was cutting out the frames and "glass". I used these stencils but you could cut them in any shape you want. I used the largest and smallest square/circle in the right column for the frame. For the "glass" I used the one in the middle. Make sure you cut out two frame pieces for each piece of "glass"


Next, the princesses put a trail of glue around the frame.


Then, they smeared the glue around to make sure the entire frame was covered.

After that, we laid the "glass"down. Just a note, if there is a lot of glue the velum will begin to curl up so you may need to go quickly or help you little one with the next step.

Next, just lay the other frame on top and press along all of the edges to make sure they stick together.

Here are our glued ornaments drying on a piece of wax paper.
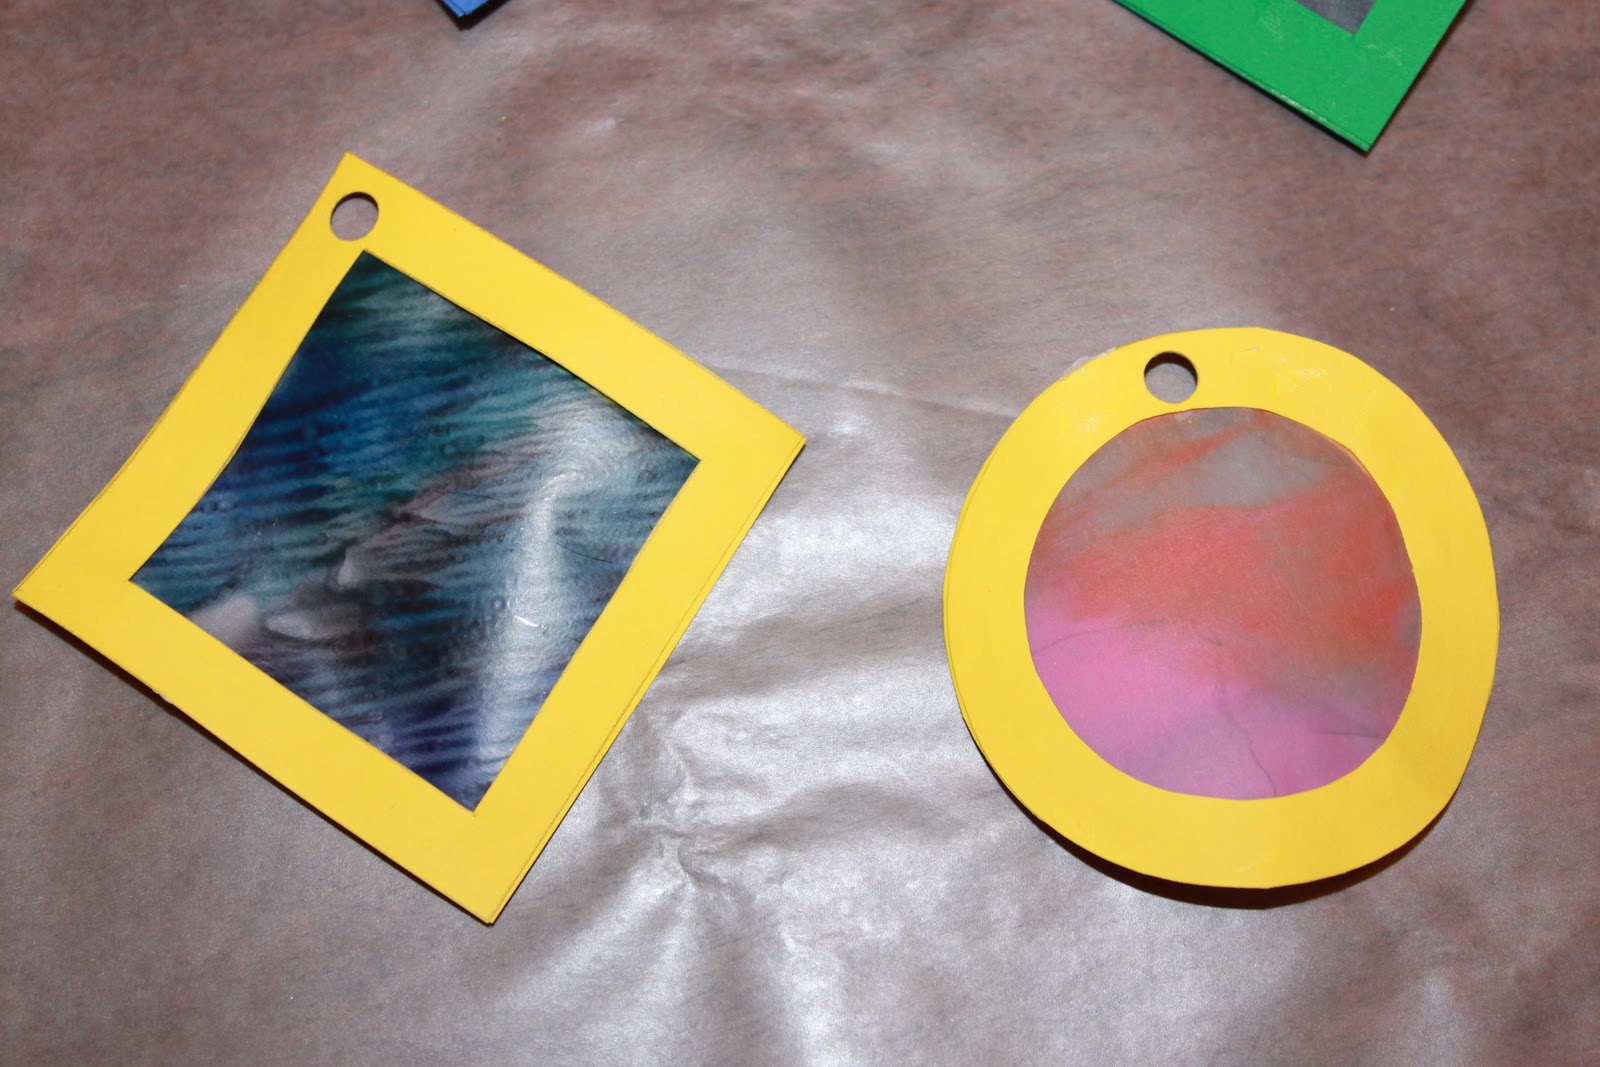
Once they were dry (after the princesses went to bed) I used a hole punch to make a hole in each one.

Then, I used some curling ribbon that I had on hand to make a loop.

I added the date to the back and some ornament hangers so the princesses could hang them in the morning.

Here they are looking for just the right spot to hang. We were looking for spots right in front of lights so that they would "glow" when the tree lights are on.

I think it worked out pretty well!
No comments:
Post a Comment