Tuesday, November 30, 2010

Crayon Melts

One of the art projects my mom did with us when we were kids that I enjoyed most was making crayon melt pictures. I was at a loss with how to duplicate it with my children because I didn't want to purchase an expensive hot plate just for this. Imagine my surprise when while at a thrift store shopping for something entirely different I looked down and saw the very same hot plate my mother had! Now for the whopping price of $1.71 plus tax I can pass this project on to my girls.


The supplies you need are:
Hot plate with a smooth surface
Aluminum foil
Old crayons
Paper (any kind)
Hot pad
Paper towel


Place a piece of aluminum foil over the hot plate and tuck the edges so it won't slide around. Plug in the hot plate and let it warm up.


Once the hot plate is warm enough to melt the crayons let your little one draw on it.


When their picture is done lay a piece of paper over the top and smooth it down using the hot pad. We used velum sheets here because we're going to make ornaments for our tree out of these. The velum doesn't soak up the wax like regular paper does so it works better for abstract drawings. When you use plain paper the picture will transfer to it the way it was drawn. After you transfer the picture use some paper towel to wipe the foil clean and you're ready to create a new picture!


Here are our finished pictures drying. Stay tuned, later in the week we will be showing how we turned these into "stained glass" ornaments!

Monday, November 29, 2010

Advent Calendar

We didn't do much in the way of arts and crafts between Halloween and Thanksgiving! I know we were just too busy but for the life of me I can't remember what we were doing. I think I'm a little young for a "senior moment" but that's the best way I can describe it! Now, however, we are getting into Christmas time and I am sooooo excited! My princesses are finally old enough to start doing the crafts my mother did with me, as well as, some new traditions I want to start. We spent the Thanksgiving weekend getting our tree up. I had to get a new one that was bigger (our old one was only 4ft) to fit all of the keepsake ornaments that we have collected since Princess Big was born. I also wanted to have plenty of room to add the ones we will be making this year and in the years to come.


Here is our finished, for now, tree.

One of the new traditions that I have decided on is an Advent Calendar. When I was a kid I think my brother, sister, and I got one of those calendars that is filled with little chocolates once. I suspect that my mother told my grandparents not to send another one. I imagine we didn't share very well but how could you, those chocolates are so small! It was either that or the fact that my parents didn't want us eating too much candy. Now that I'm a mother I find myself thinking the same thing. I don't want my girls eating too much candy at Christmas either and it is very difficult. When I saw this idea I knew it was perfect. I can fill the little boxes with treats other than candy!


Here is the entire calendar.


Here is a close up of the boxes.

If you want to make one of your own you can see how I use the ideas from Mod Podge Rocks here.

Erupting Volcano

Finally an update on our volcano project. We had to wait a few weeks until King Daddy had some free time to do the experiment. I thought everyone did this project for the first grade science fair but apparently I was wrong. King Daddy had never done it so, I wanted to let him do it with the princesses. It also gave me a chance to snap pictures of their faces when the "lava" came flowing out. I'm glad I did because they looked so surprised!


Here is Princess Little helping King Daddy pour in the vinegar which has red food coloring added to it. 


 Here comes the lava.


Look at those faces!


Cheers all around!

Friday, November 12, 2010

Quilted Sunnies Caddie

My children have a million sunnies (our word for sunglasses). At least that's how it seems because they are strewn about the house, car and several of my bags. In an effort to organize them I made a sunnies caddie to hang by the door.


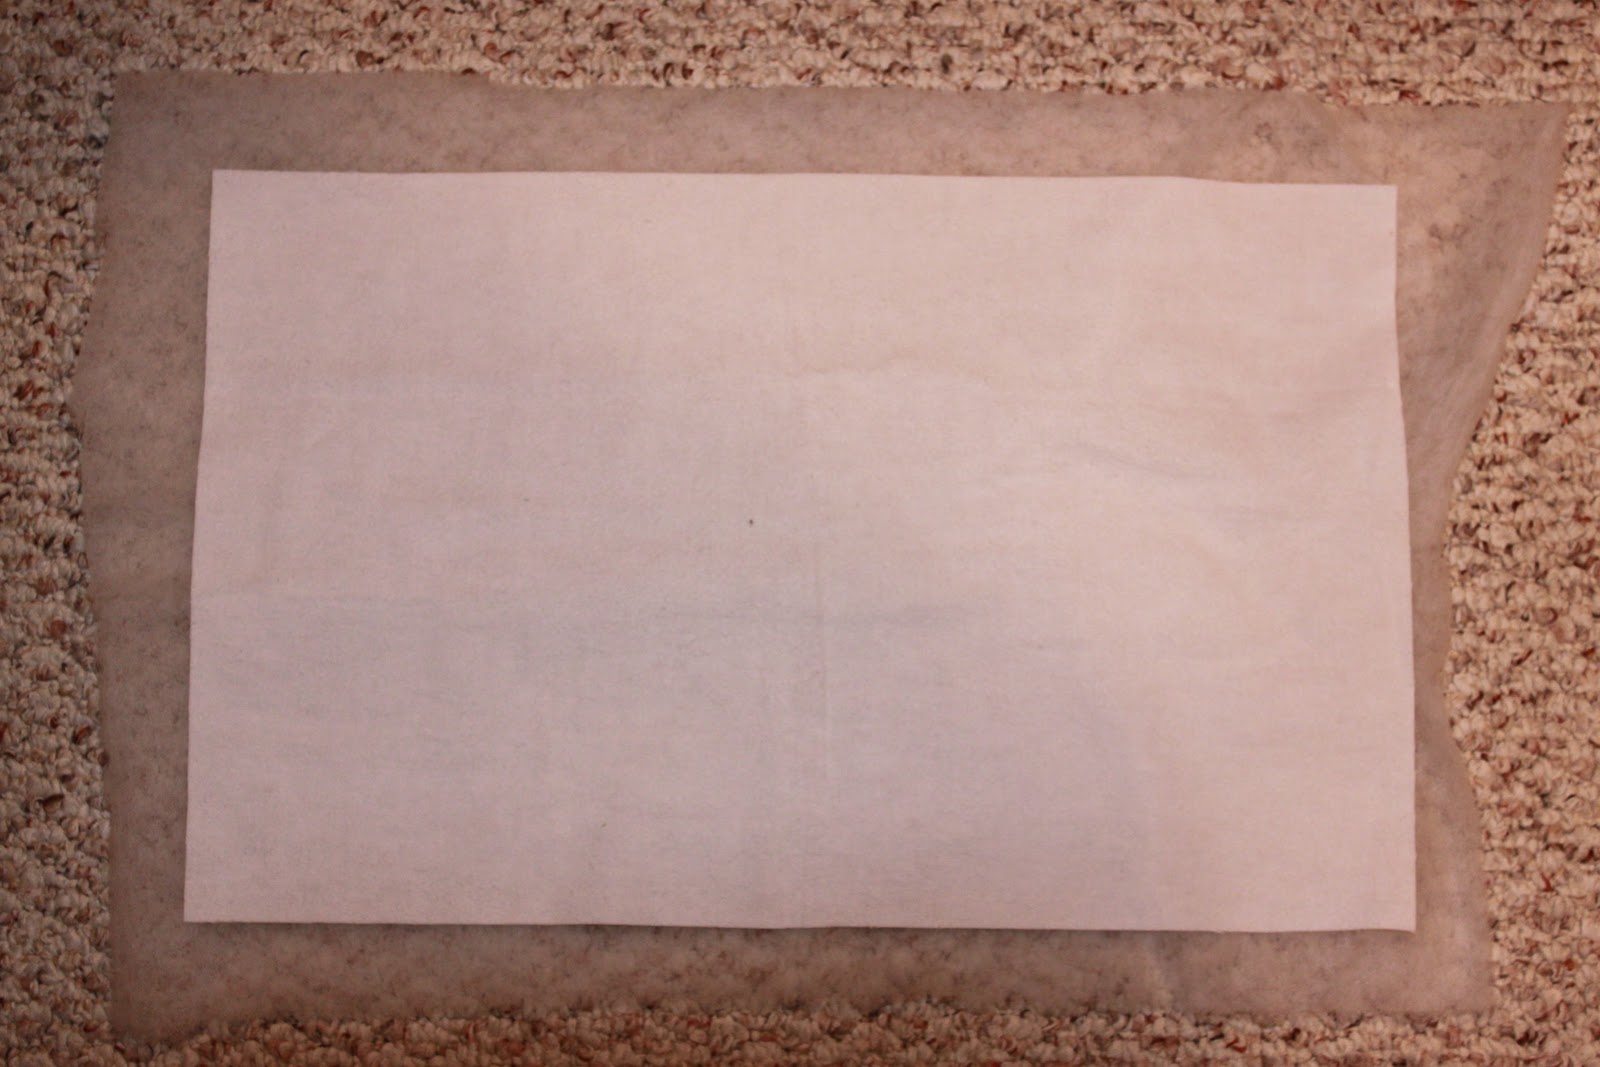
I started by cutting out my fabric. I cut two pieces of white flannel 13"x21" and three pieces of blue striped flannel 4.5"x13".


Next, I pressed the long edges of the blue stripped flannel down .25".


Then, using a zig zag stitch I sewed one of the edges.


Next, I cut a piece of quilt batting slightly larger than the white back ground.


Then, I pinned everything together. On the bottom is one piece of the white, then the batting, then the second piece of white, and last the blue stripped pockets. I sewed, using a zig zag stitch, the bottom of the pockets in place. Then, I sewed the vertical zig zag stitches that separate pockets. I did three pockets approximately 3.5" (I just eyeballed it).


 To make the binding I cut enough strips of fabric 2" wide to go around the entire perimeter.


I turned them into one long strip by sewing them together like this. Pressing the seams open.

  
Then, I folded the strip in half and pressed it like this.


Next, starting in the center of one side I pinned the binding to the caddie with the raw edges lining up.


To do the corners, I stopped sewing about .25" from the end.


Then, I folded the strip up like this...


And then straight back down like this and pinned it. Then I sewed down this edge and repeated the corner process until I got back to where I started. Before I sewed over the end where I started, I folded the beginning edge over about .5". Then, I sewed the ending edge on top of the folded beginning edge. Once the binding was completely sewn on I trimmed the batting and fabric .25" from the stitching.


I made the hanging tabs by sewing a strip of fabric right sides together and then turning it right side out. Then, I cut it into three pieces. I folded the pieces in half to have ready for the next step.


Next, I folded the binding over the edge to the back and pinned it in place. Placing the tabs along the top edge. I matched the raw edges and then folded the binding over the tabs. This means that the top of the tab was pointing down.


Then, I sewed all the way around the binding in the seam. This is called stitch in the ditch. 


 Once it was all sewn I turned the tabs up to the top and stitched in the ditch over them. Now they are pointed the correct way.


Then, I cut a dowel rod the correct length and slid it through the tabs. I tied some white ribbon to the ends and knotted a loop in the center. The last thing to do was hang it by the door with a picture nail!


Wednesday, November 10, 2010

Word Wall

 When I decided to undertake the project of doing a home school preschool with my girls I wasn't sure I could do it! However, I am very lucky to have both a best friend and King Daddy's cousin who are Kindergarten teachers. They have both given me a wealth of information on what skills we should be working toward. Recently one of them asked me if I had a "word wall" to help with word recognition. I do but I don't think it's anything like her wall ;) We do ours in the bathtub! I took this great idea from Filth Wizardry here.


Each week when we talk about the sounds that our letter of the week make we also talk about words that start with that letter. As the Princesses list them I write them down on the foam and add them to our bag. In the tub Princess Big uses the words to make sentences and Princess Little uses the letters to make words. Just for the record we also have lots of shapes to make murals on the wall also :)

Sunday, November 7, 2010

The Model is Dry!!!

Our volcano is finally dry! So, today we are painting.


Here are the princesses painting.


Here is our painted volcano. Now all I have to do is take it outside and spray it with an acrylic top coat. Then it will be ready to experiment with King Daddy. I will post pictures as soon as we do it!

Island Lei

Today we made a lei garland to hang around our island mural.
We used:
Length of yarn
Wooden beads
Fake flowers (I got mine in a box of 500 in the wedding aisle of the craft section of Wal Mart.)


I tied one end of the yarn to a large wooden bead. I also used a yarn needle for the other end but you could use tape around the end like a shoelace. 


Then Princess Little and Princess Big strung the beads and flowers alternating on the yarn.


Here is our mural at the end of the day. Princess Little decided the volcano needed lava and some flowering trees added to it.

Day 3 for the Volcano Model:

Well, here is our volcano still drying. I want to make sure it is really dry before painting!

Tuesday, November 2, 2010

Island Mural

Today's art project was getting our mural started. I drew an outline of a volcano and the ocean on our bulletin board paper. Then I got out the tempera paint and mixed a few colors, gave the girls a foam brush and here is what we got.


Then I gave them some sun pieces and asked them to arrange them. Then I put a little glue on the back and handed it to them to paste.


Here is our finished (for the day) mural.

Now for step 2 in our volcano model.
The first thing I did was to mix up some salt dough which is 1 part salt, 4 parts all-purpose flour and 1 1/2 parts hot water. Mix together and kneed for about 10 minutes.


Then we rolled it out to anywhere from 1/4 to 1/2 inches thick.


While I was putting the finishing touches on this, the girls were doing this with the leftover dough. Once I was happy with the volcano (I hope to get a lot of use out of this), I put it in the oven at the lowest possible temp (which for my oven is 170F) for 3 hours. Then I just turned the oven off and left the volcano in there. I will leave it in there until I have to cook dinner tomorrow night. Then on Thursday we will paint it.


I is for Island

This week were are working on the letter I and the number 9. Our states are Hawaii and Iowa. Our president is William Henry Harrison.


Since Hawaii is one of our states we are learning what's inside a volcano. It was a beautiful day so we moved it outside and Queen Mommy drew a picture of a volcano with sidewalk chalk. Then the girls filled in the details. We talked about how most of the volcano is underwater like with Hawaii.


For our science project this week we are building a volcano. You know the project we all did for the 1st grade science fair. Today we worked on the frame which we will cover with a salt dough. I used a glass jar from our favorite jelly. It is tall and narrow. Then I covered it with foil in a volcano shape. Tomorrow it's the dough.

Monday, November 1, 2010

Leafy Stained Glass

Friday was just too beautiful to stay inside! The wind finally died down and the sun was out so we headed outside to hunt for pretty fall leaves. Then we brought them inside and put them in a frame. Here's how we did it.


First, I cut out a frame using construction paper.


Then, I stuck it to a piece of clear contact paper.


Next, the girls placed their found leaves on the contact paper inside the frame.


Then, I placed a second piece of contact over the top and we smoothed it all over and hung in the girls bedroom window. Beautiful!