Wednesday, November 10, 2010

Word Wall

 When I decided to undertake the project of doing a home school preschool with my girls I wasn't sure I could do it! However, I am very lucky to have both a best friend and King Daddy's cousin who are Kindergarten teachers. They have both given me a wealth of information on what skills we should be working toward. Recently one of them asked me if I had a "word wall" to help with word recognition. I do but I don't think it's anything like her wall ;) We do ours in the bathtub! I took this great idea from Filth Wizardry here.


Each week when we talk about the sounds that our letter of the week make we also talk about words that start with that letter. As the Princesses list them I write them down on the foam and add them to our bag. In the tub Princess Big uses the words to make sentences and Princess Little uses the letters to make words. Just for the record we also have lots of shapes to make murals on the wall also :)

Sunday, November 7, 2010

The Model is Dry!!!

Our volcano is finally dry! So, today we are painting.


Here are the princesses painting.


Here is our painted volcano. Now all I have to do is take it outside and spray it with an acrylic top coat. Then it will be ready to experiment with King Daddy. I will post pictures as soon as we do it!

Island Lei

Today we made a lei garland to hang around our island mural.
We used:
Length of yarn
Wooden beads
Fake flowers (I got mine in a box of 500 in the wedding aisle of the craft section of Wal Mart.)


I tied one end of the yarn to a large wooden bead. I also used a yarn needle for the other end but you could use tape around the end like a shoelace. 


Then Princess Little and Princess Big strung the beads and flowers alternating on the yarn.


Here is our mural at the end of the day. Princess Little decided the volcano needed lava and some flowering trees added to it.

Day 3 for the Volcano Model:

Well, here is our volcano still drying. I want to make sure it is really dry before painting!

Tuesday, November 2, 2010

Island Mural

Today's art project was getting our mural started. I drew an outline of a volcano and the ocean on our bulletin board paper. Then I got out the tempera paint and mixed a few colors, gave the girls a foam brush and here is what we got.


Then I gave them some sun pieces and asked them to arrange them. Then I put a little glue on the back and handed it to them to paste.


Here is our finished (for the day) mural.

Now for step 2 in our volcano model.
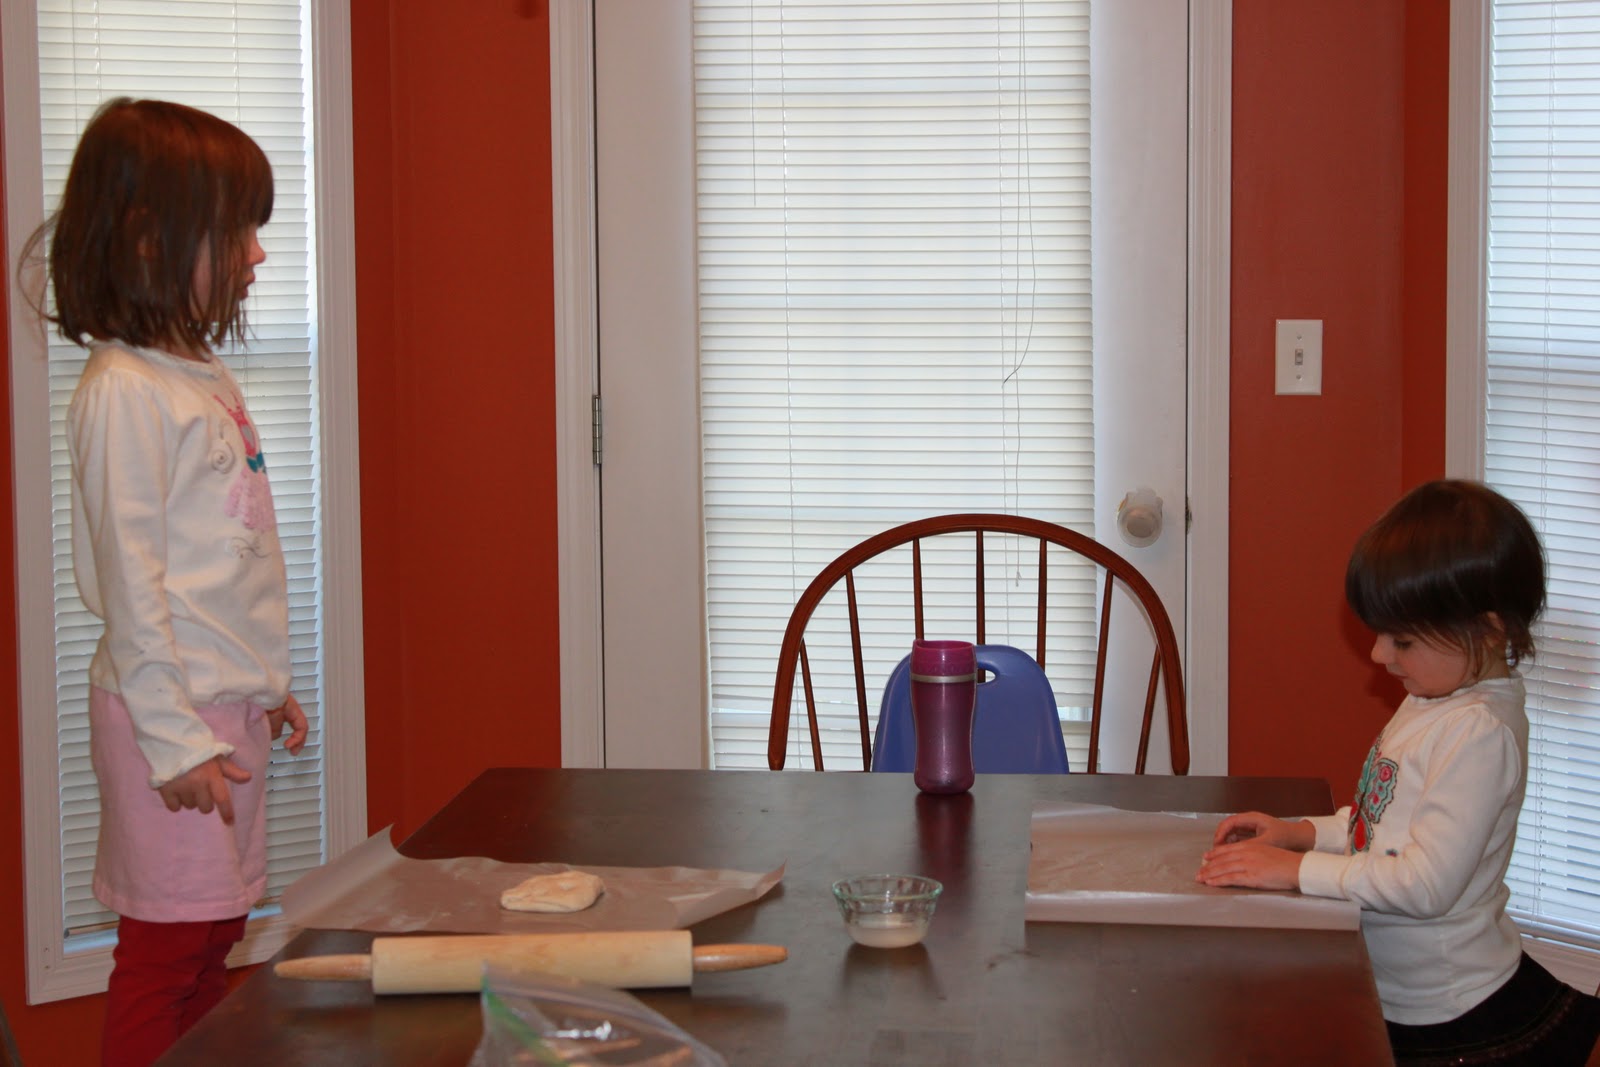
The first thing I did was to mix up some salt dough which is 1 part salt, 4 parts all-purpose flour and 1 1/2 parts hot water. Mix together and kneed for about 10 minutes.


Then we rolled it out to anywhere from 1/4 to 1/2 inches thick.


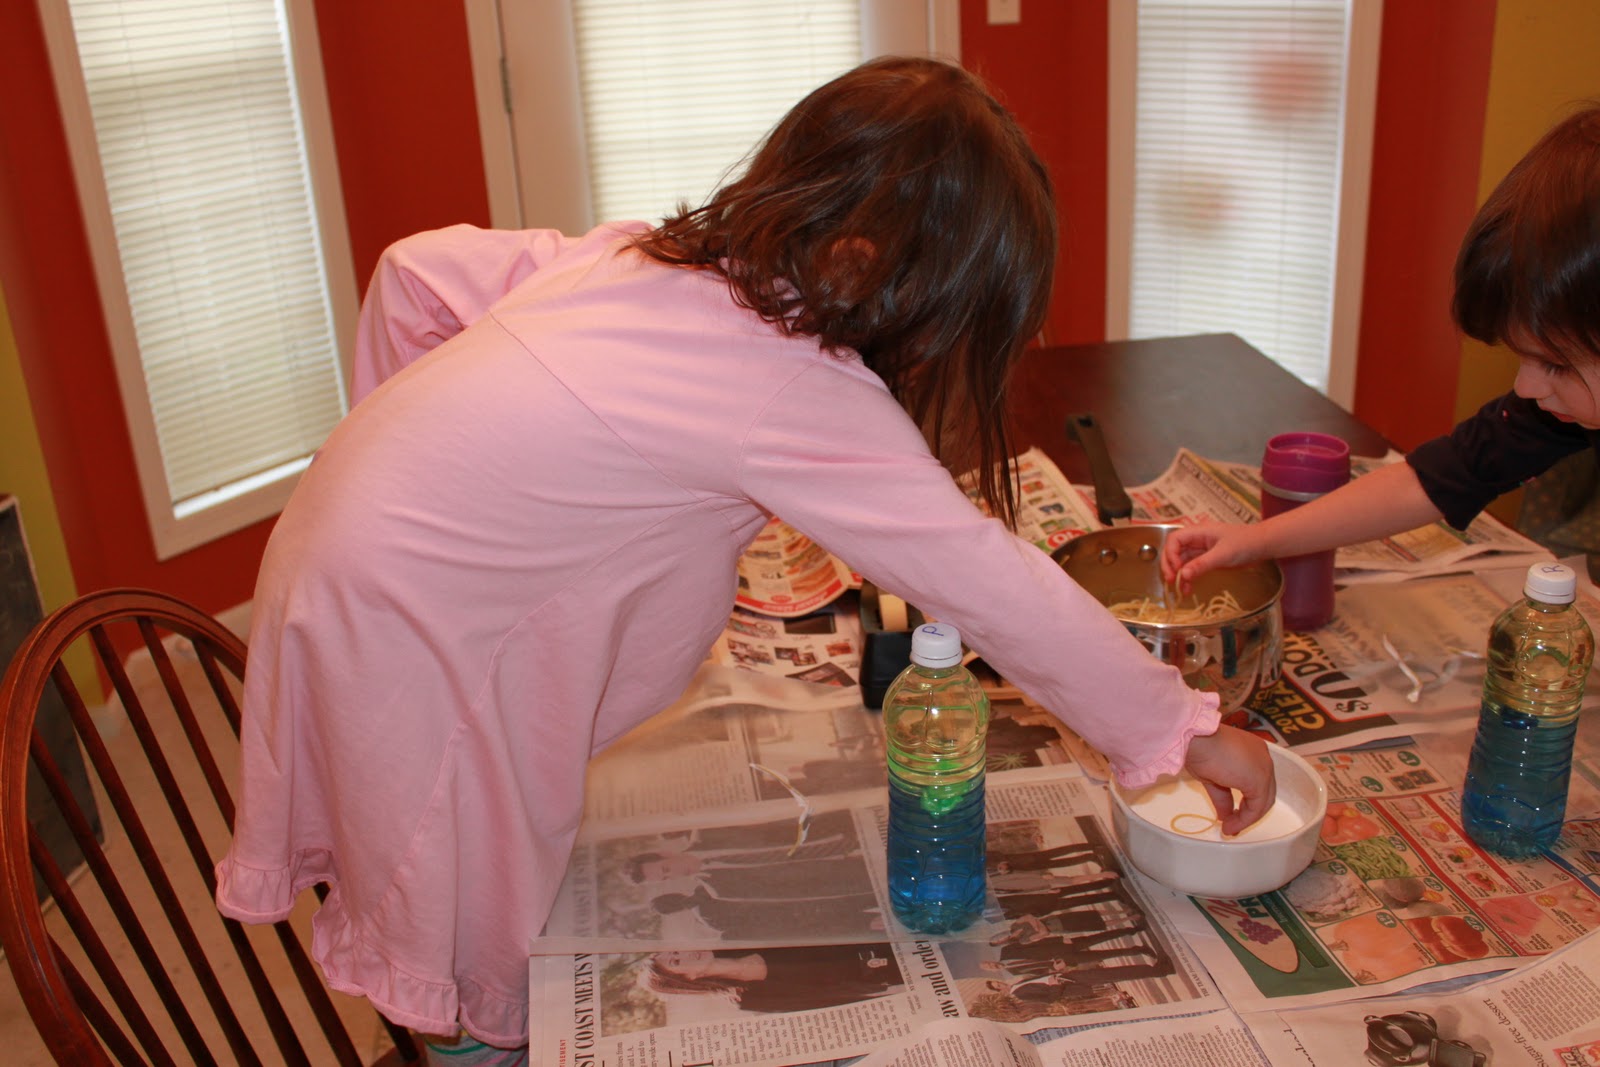
While I was putting the finishing touches on this, the girls were doing this with the leftover dough. Once I was happy with the volcano (I hope to get a lot of use out of this), I put it in the oven at the lowest possible temp (which for my oven is 170F) for 3 hours. Then I just turned the oven off and left the volcano in there. I will leave it in there until I have to cook dinner tomorrow night. Then on Thursday we will paint it.


I is for Island

This week were are working on the letter I and the number 9. Our states are Hawaii and Iowa. Our president is William Henry Harrison.


Since Hawaii is one of our states we are learning what's inside a volcano. It was a beautiful day so we moved it outside and Queen Mommy drew a picture of a volcano with sidewalk chalk. Then the girls filled in the details. We talked about how most of the volcano is underwater like with Hawaii.


For our science project this week we are building a volcano. You know the project we all did for the 1st grade science fair. Today we worked on the frame which we will cover with a salt dough. I used a glass jar from our favorite jelly. It is tall and narrow. Then I covered it with foil in a volcano shape. Tomorrow it's the dough.

Monday, November 1, 2010

Leafy Stained Glass

Friday was just too beautiful to stay inside! The wind finally died down and the sun was out so we headed outside to hunt for pretty fall leaves. Then we brought them inside and put them in a frame. Here's how we did it.


First, I cut out a frame using construction paper.


Then, I stuck it to a piece of clear contact paper.


Next, the girls placed their found leaves on the contact paper inside the frame.


Then, I placed a second piece of contact over the top and we smoothed it all over and hung in the girls bedroom window. Beautiful!

Spooky Spiderwebs

On Thursday we made spooky spiderwebs. Here are the supplies:


Cold cooked spaghetti
Wax paper 
Glue


Dip pieces of spaghetti in the glue and then place on the wax paper.


Let the glue dry.


Carefully peel the wax paper off the spaghetti.


We added some plastic spider rings to the webs after we taped them on the mural. Princess Little decided that we needed to add some of the plastic bat rings in the sky and Princess Big wanted to add the plastic skull rings to the windows of the house. I think it looks fantastic!